Thanks for the comments so far.
We have similar problems with leaks.
I think they generally can come from rubrail screws, leaking seal between deck and hull, screws of railing base, screws from teak wooden panels ans screws from cleats.
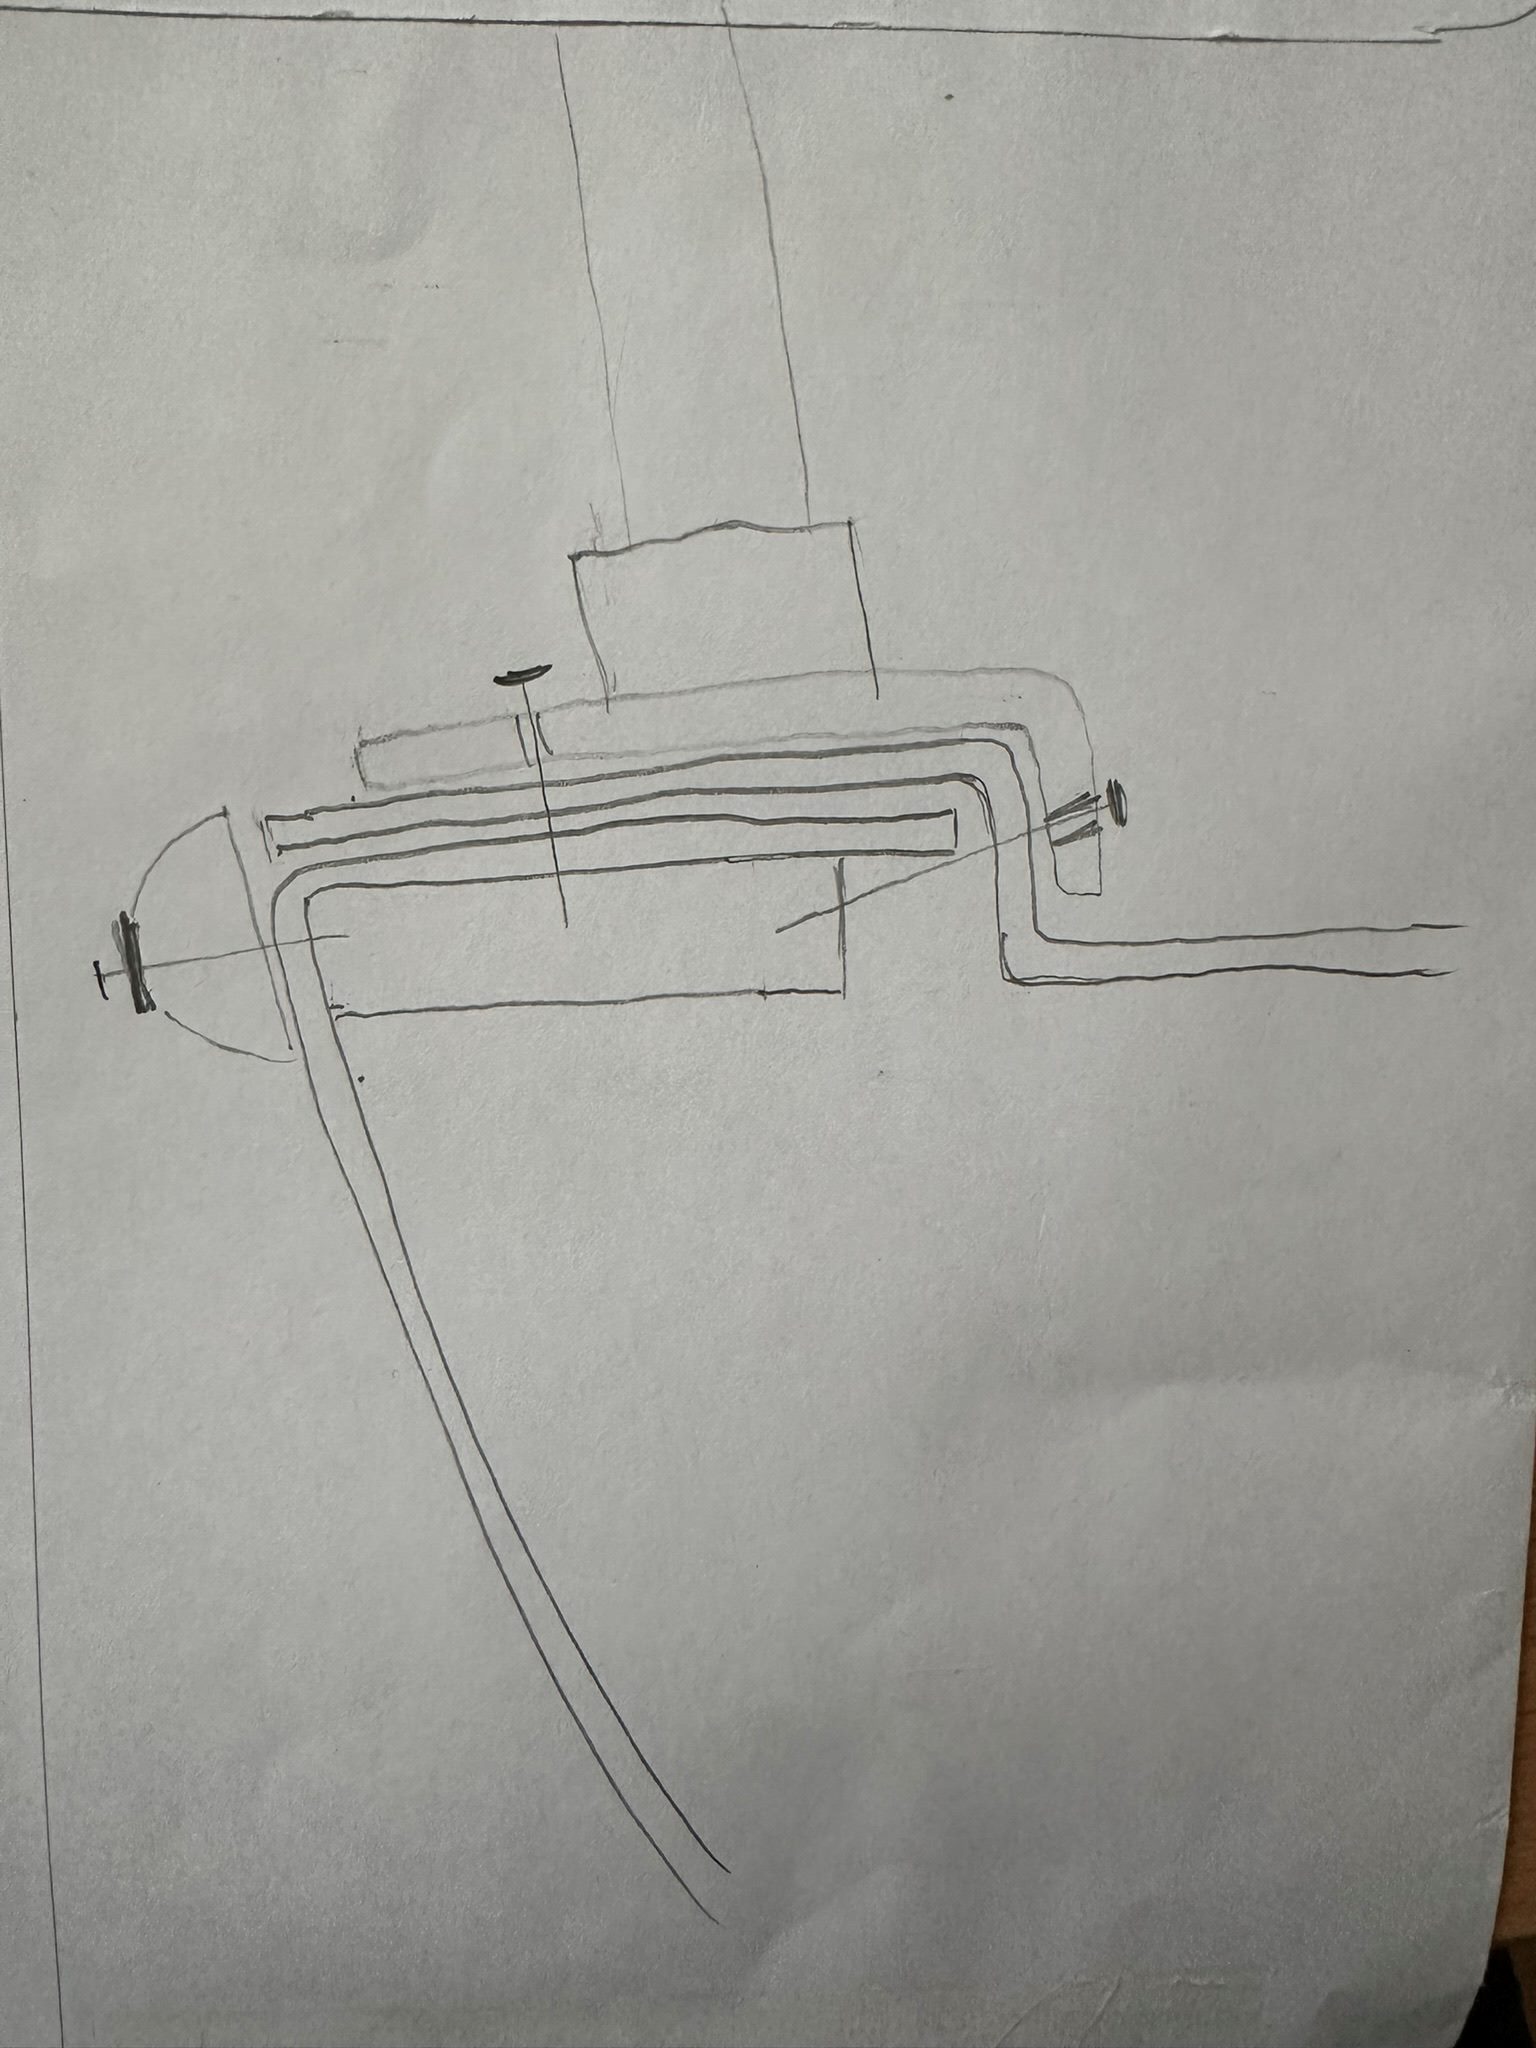
You can see the assembly of hull/deck in this video:
https://youtu.be/GIciQXXkd4Q?si=HsS9StPo3Ip0TaF9So I think the construction is a little bit different than shown before (see attached).
What we have done so far:
removed all wooden panels since they are directly screwed into the wooden base
removed the wooden rub rails
laminated the gap between hull and deck because the wooden base is/was already rotten a bit
resealed the (now larger) clamps
mounted a rubber rub rail
Tried to reseal screws of railing base
We are not leak free at the moment.
I think the rubber rub rail was not properly sealed by the boat yard.
So we will reassemble and reseal each screw.
We will also change the screws from the railing base to metric bolts and nuts and reseal them.
Hope this will help - we will report our results afterwards.
The leaks caused rotting of the wooden base and also rotten and moldy wall panels.
So we also have to rebuild the wall panels in the cabins.
Bad design of unvarnished wooden panels covered with the white faux leatherPVC-foam cover.
They can't dry fast enough due to the foam before getting moldy.
We will try to use hard foam PVC and cover with PVC faux leather imitate.
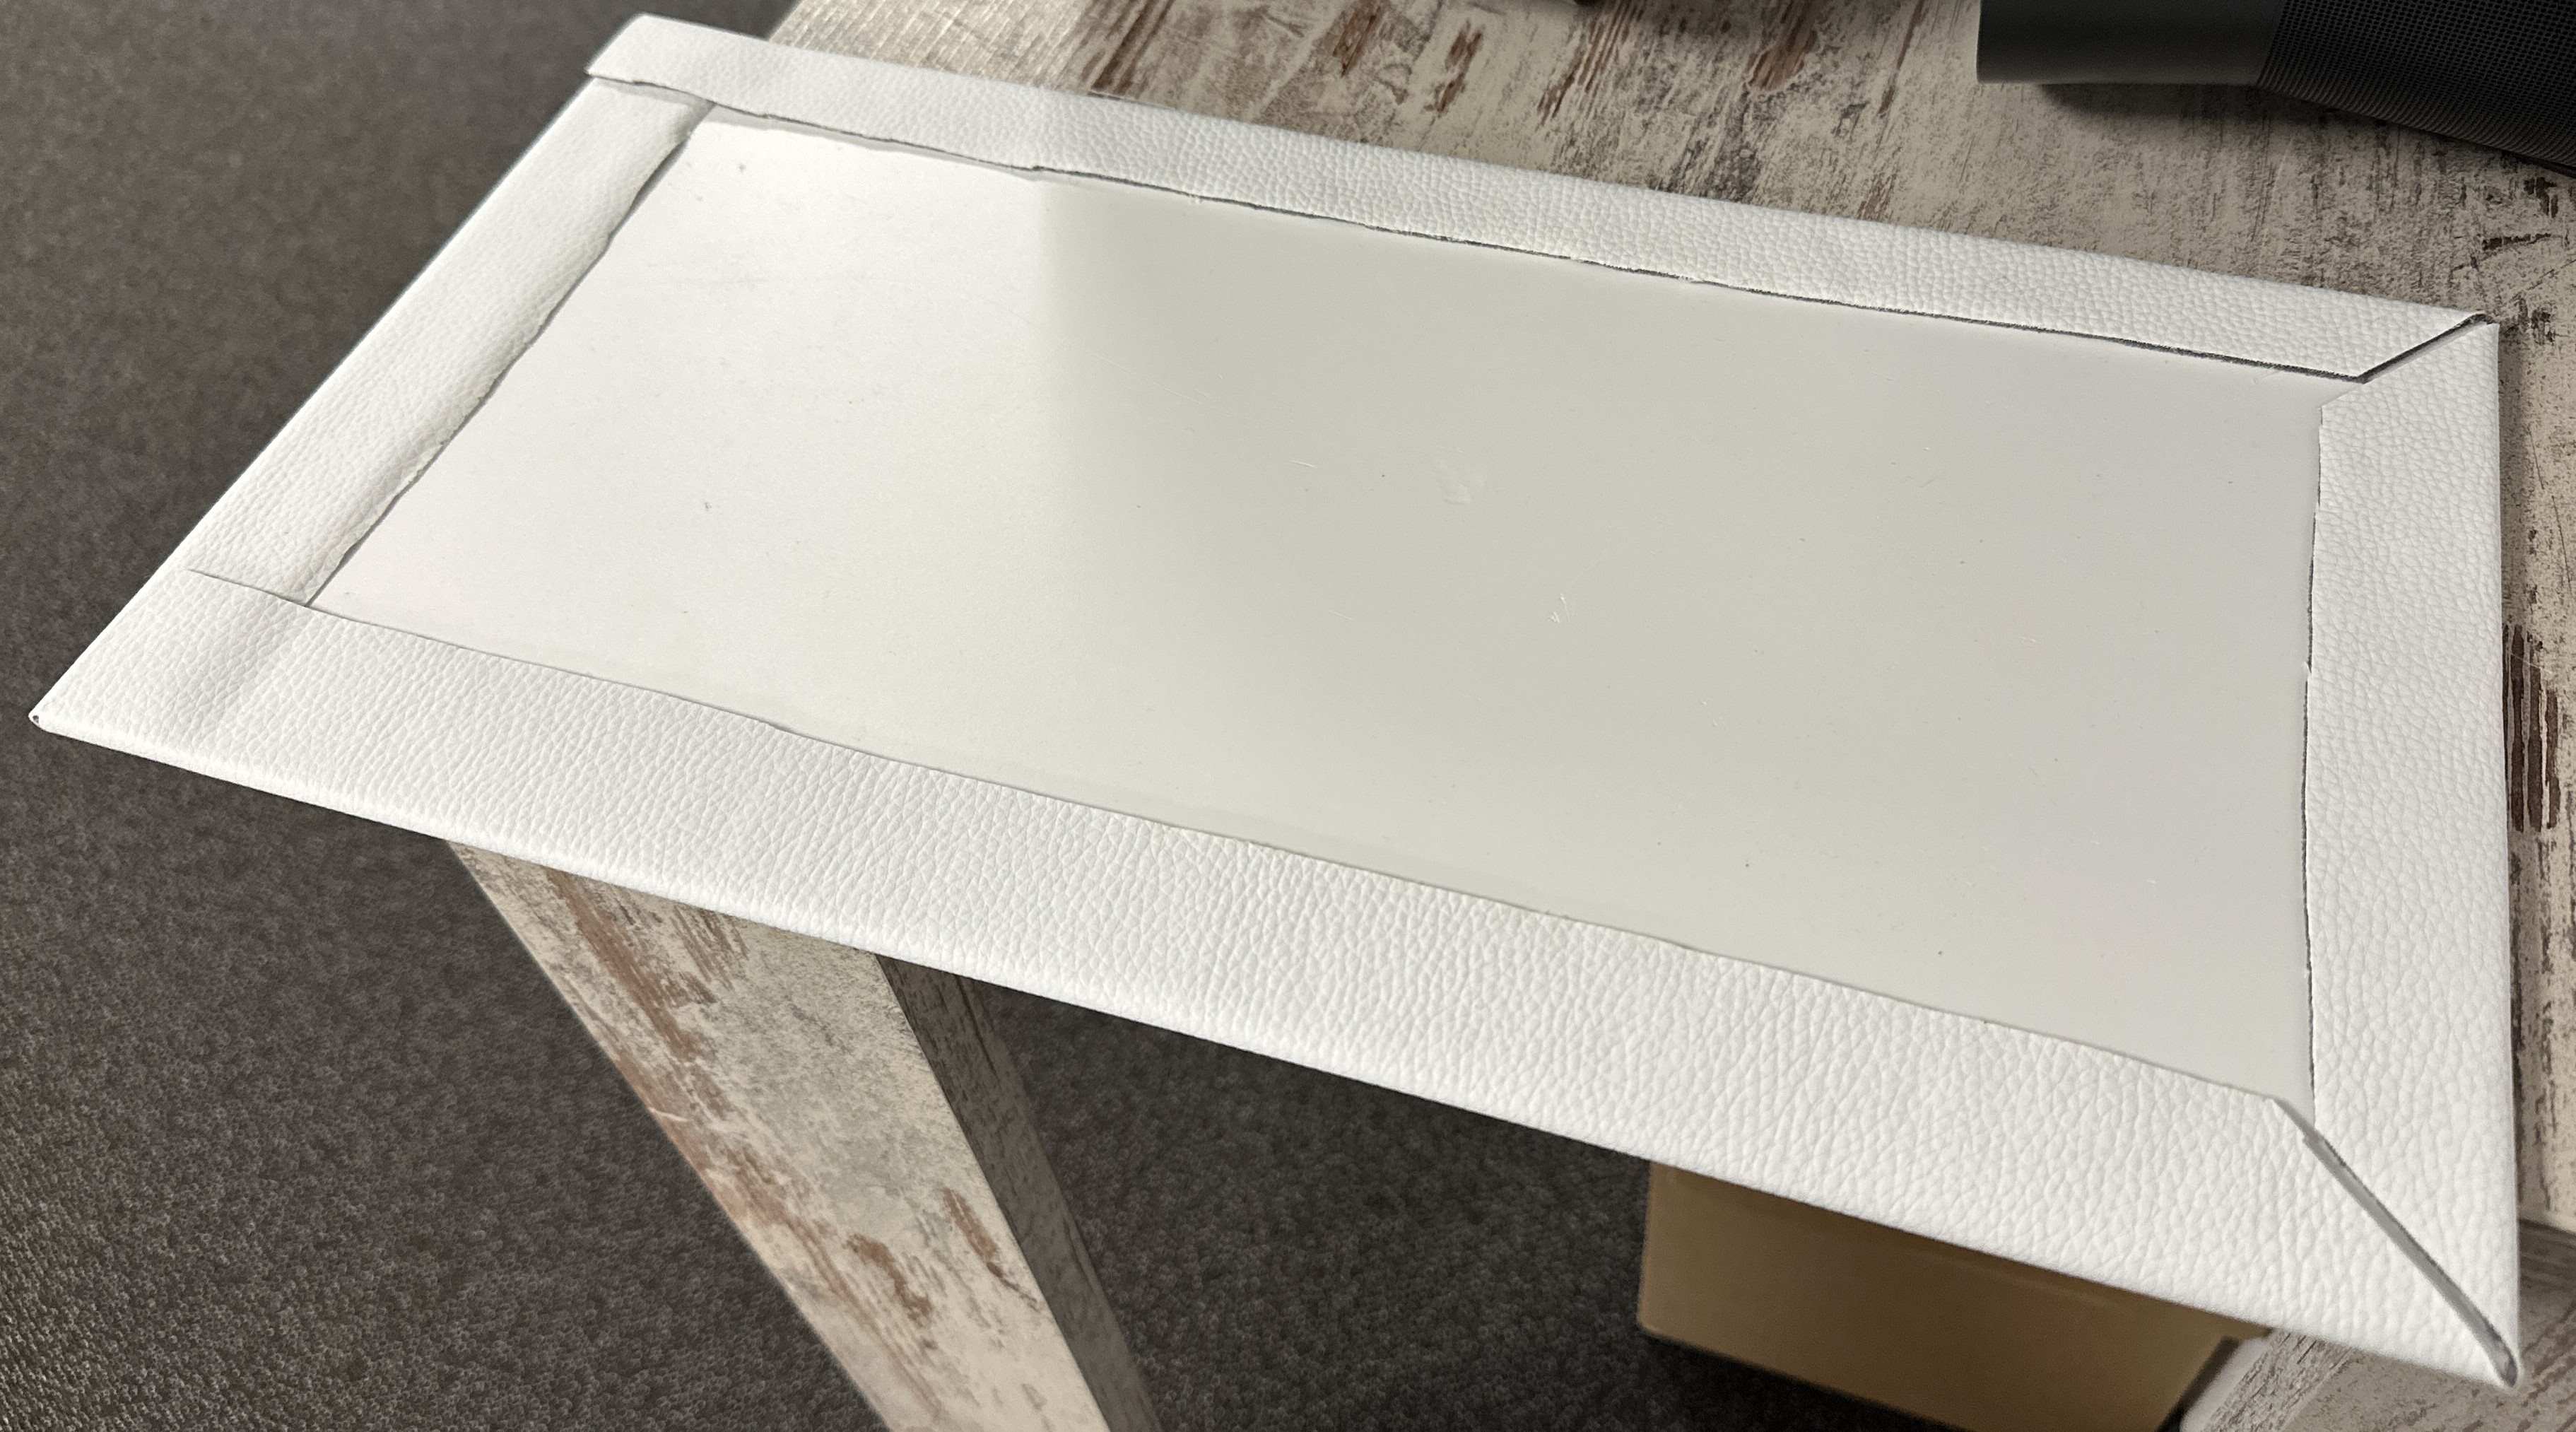
Test piece
Thanks Moritz

